Warning: Changes made here affect low-level platform behavior and can disrupt service if misconfigured. Only make changes if you understand their impact, and always use the regular Mividas Meeting Portal interface when the same setting is available there.
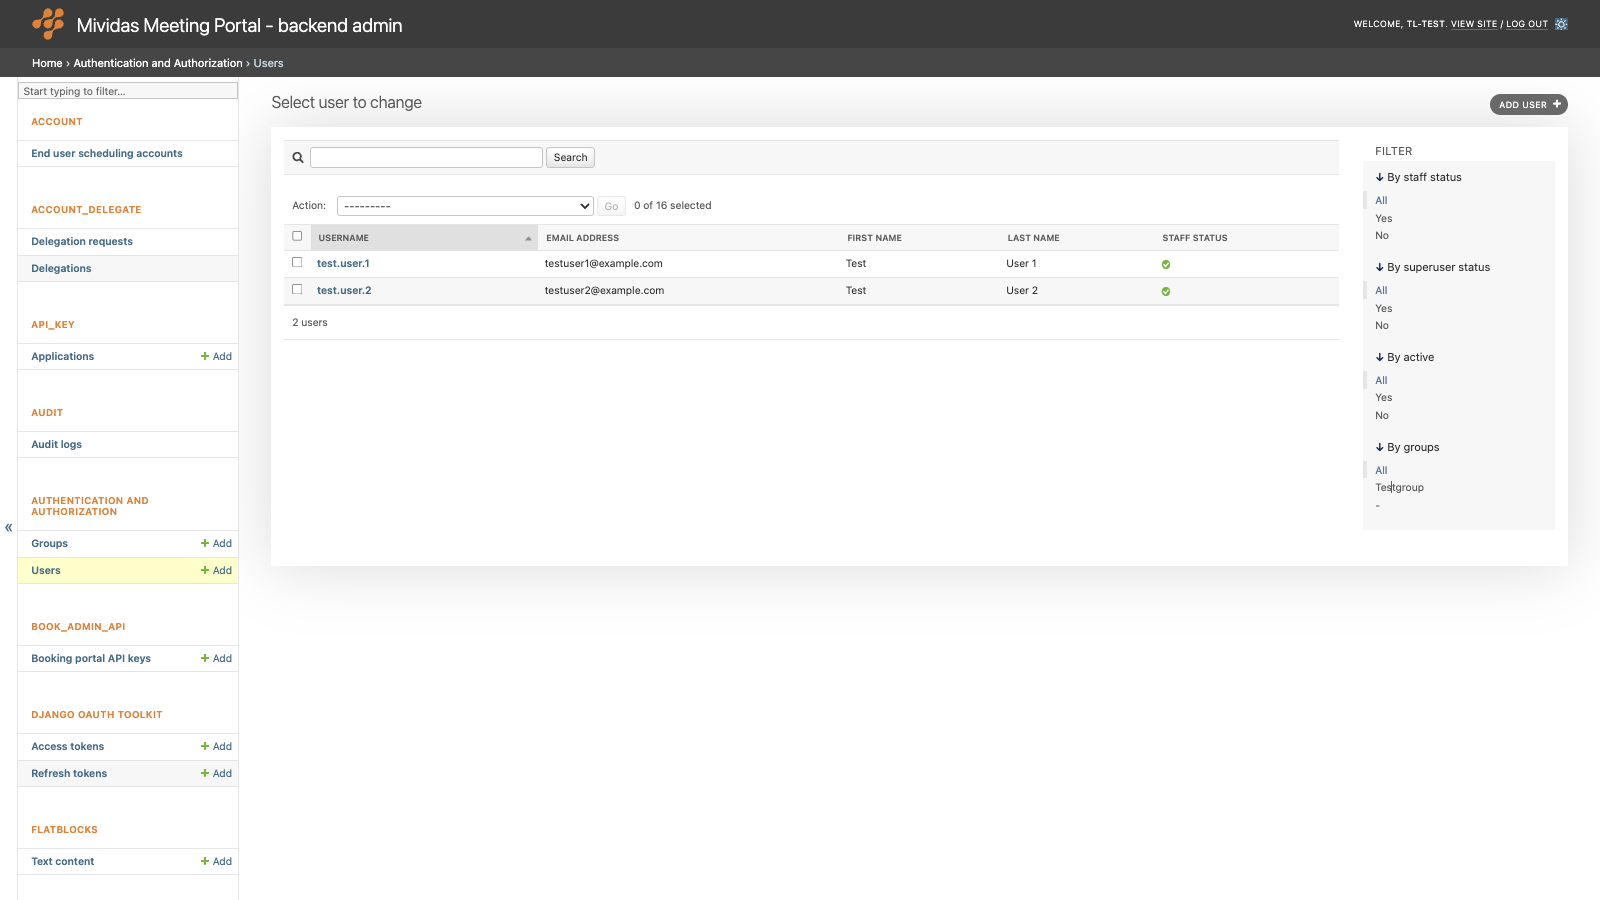
Manage local users and users created through external identity providers (LDAP/SAML). The user’s admin level decides what the user is allowed to do in the Mividas Meeting Portal and in the backend admin.
Note: Users are created automatically the first time someone signs in with LDAP or SAML. The user’s scheduling profile and meetings are kept in a separate end-user scheduling account, see ACCOUNT › End user scheduling accounts.
| Option | Description |
|---|---|
| Search | Search by username, first name, last name, or e-mail address. |
| Add user + | Add a local user. |
List view

| Option | Description |
|---|---|
| Username | The user’s login name. |
| Email address | The user’s e-mail address. |
| First name | The user’s first name. |
| Last name | The user’s last name. |
| Staff status | Shows if the user has admin level. |
Add a local user
When you add a local user, start by entering a Username, a Password and a Password confirmation. Then click Save and continue editing at the bottom of the page to stay on the page. After the user is added, more options become available, see Edit a user.
Edit a user
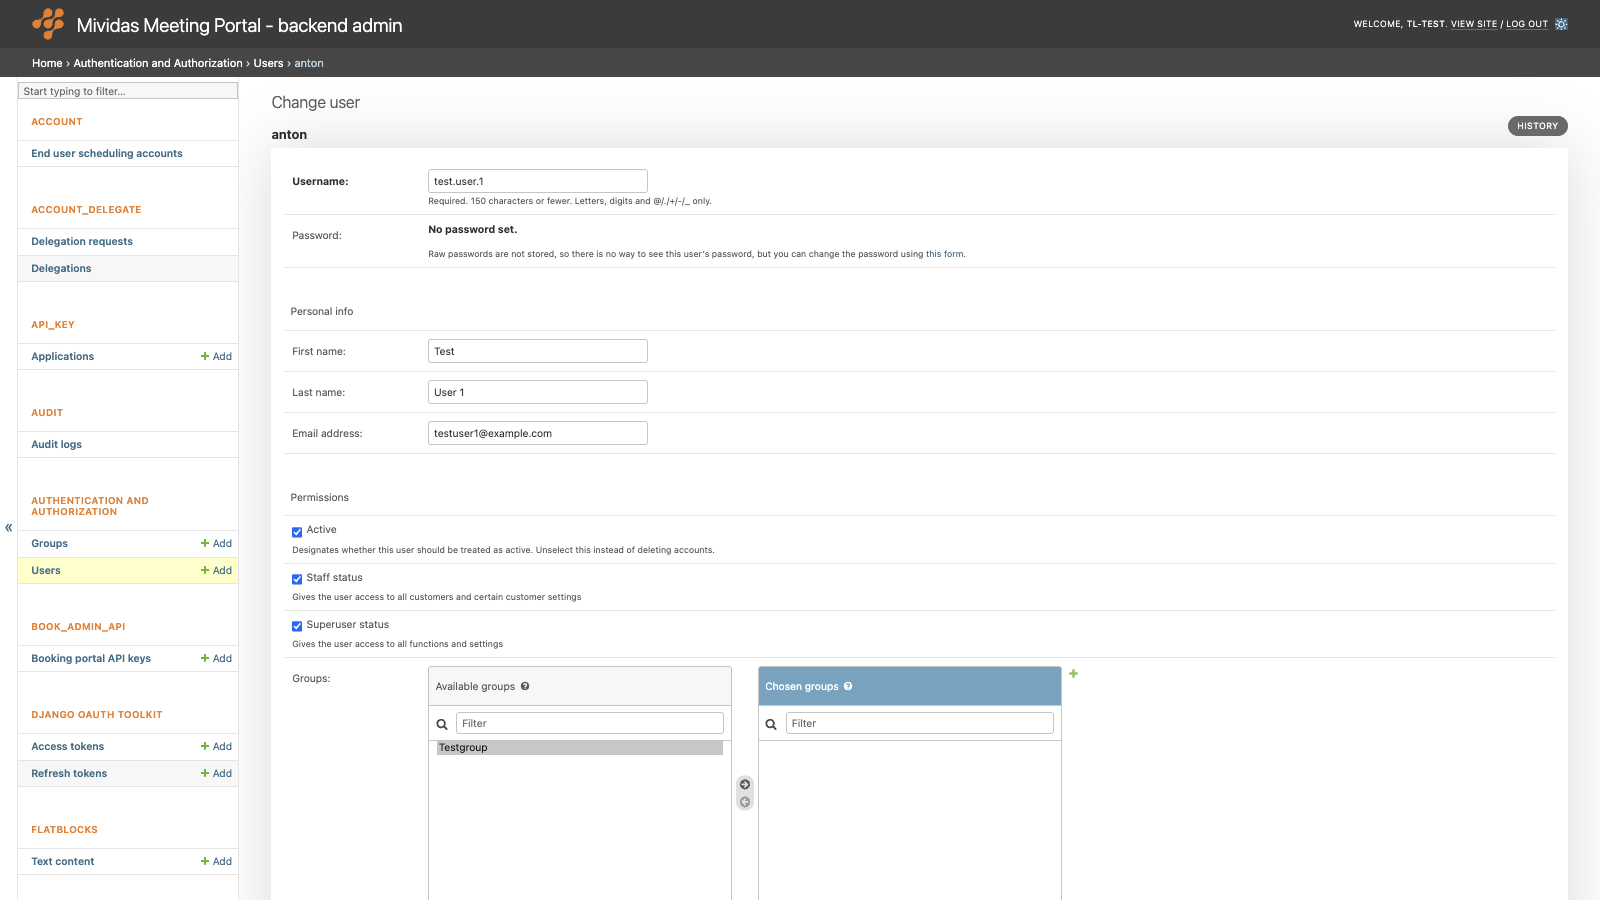
| Option | Description |
|---|---|
| Username | Required. 150 characters or fewer. Letters, digits, and @.+-_ only. |
| Password | Raw passwords are not stored, so there is no way to see the user’s password. To set a new password for a local user, use the link to the password form. |
| First name | The user’s first name. |
| Last name | The user’s last name. |
| Email address | The user’s e-mail address. |
| Active | Designates whether this user should be treated as active. Inactive users can’t sign in. Unselect this instead of deleting the user. |
| Staff status | The admin level. Users with Staff status have read access to admin settings and can view admin-only sections in the portal (white-glove). When delegation is licensed, they can also manage meetings for all users. Staff status alone doesn’t give access to the settings pages in the backend admin. |
| Superuser status | Gives the user access to all functions and settings, including all backend admin pages. |
| Groups | The groups the user belongs to. Groups control scoped permissions (beta), see Groups. |
| Last login | When the user last signed in. |
| Date joined | When the user was created. |
Note: For LDAP and SAML users, Active, Staff status, Superuser status and group memberships can be updated automatically at every sign-in. This depends on the permission and group mappings configured in Mividas Installer and under Groups. Manual changes to these fields can then be overwritten the next time the user signs in.
Generate OAuth2 tokens
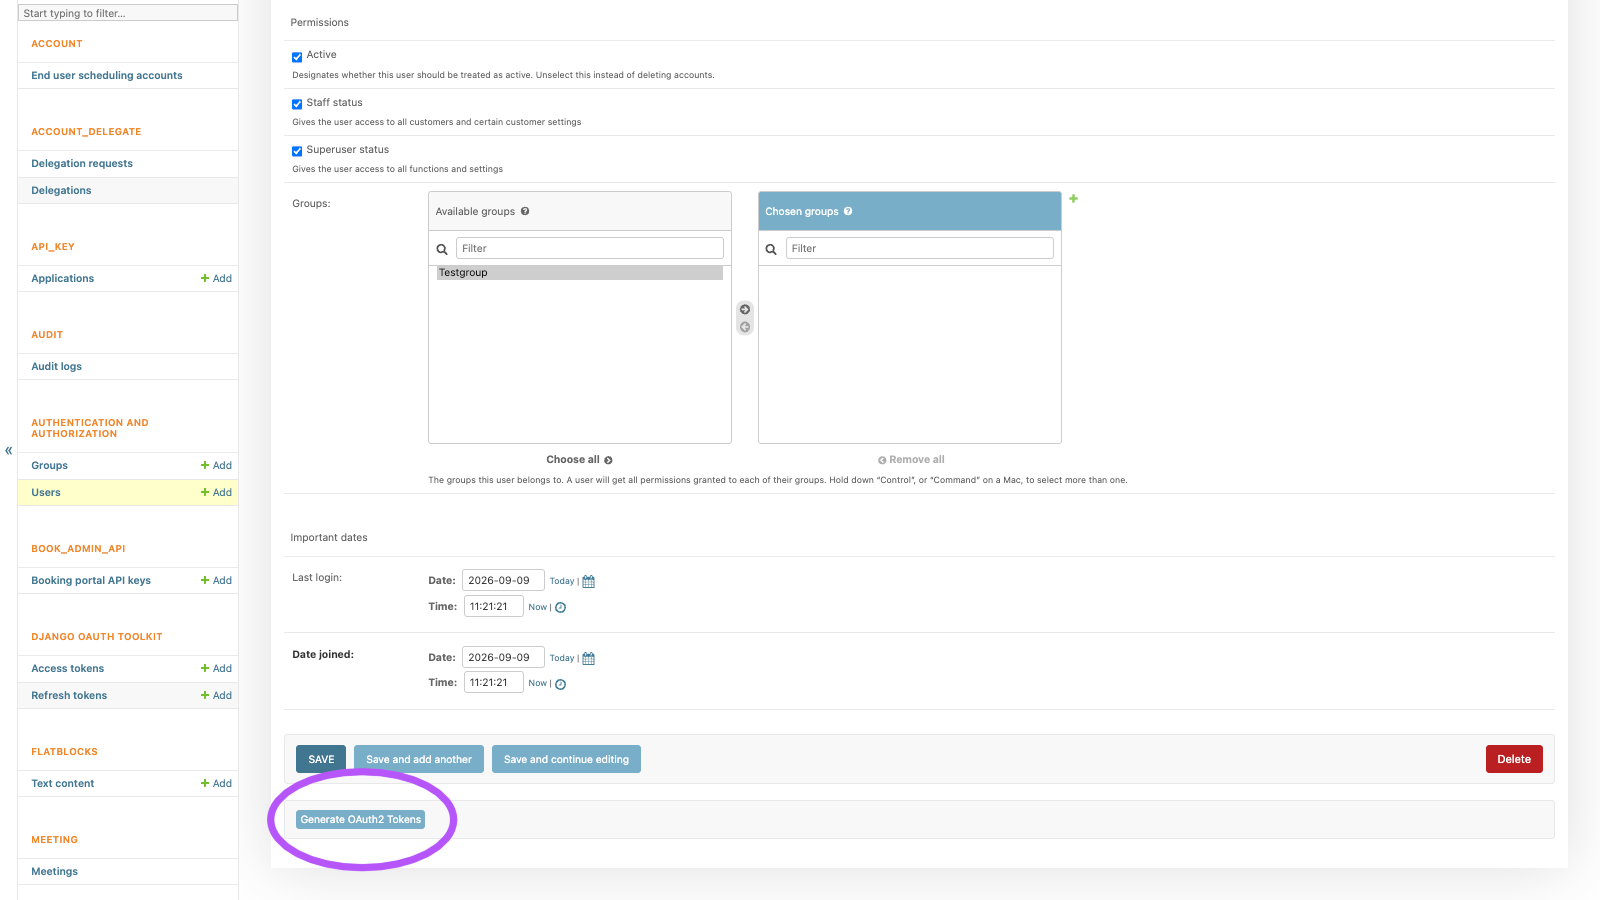
Superusers can create an OAuth access token for a user directly, for example, to test an API integration. Click Generate OAuth2 Tokens at the bottom of the user’s page.
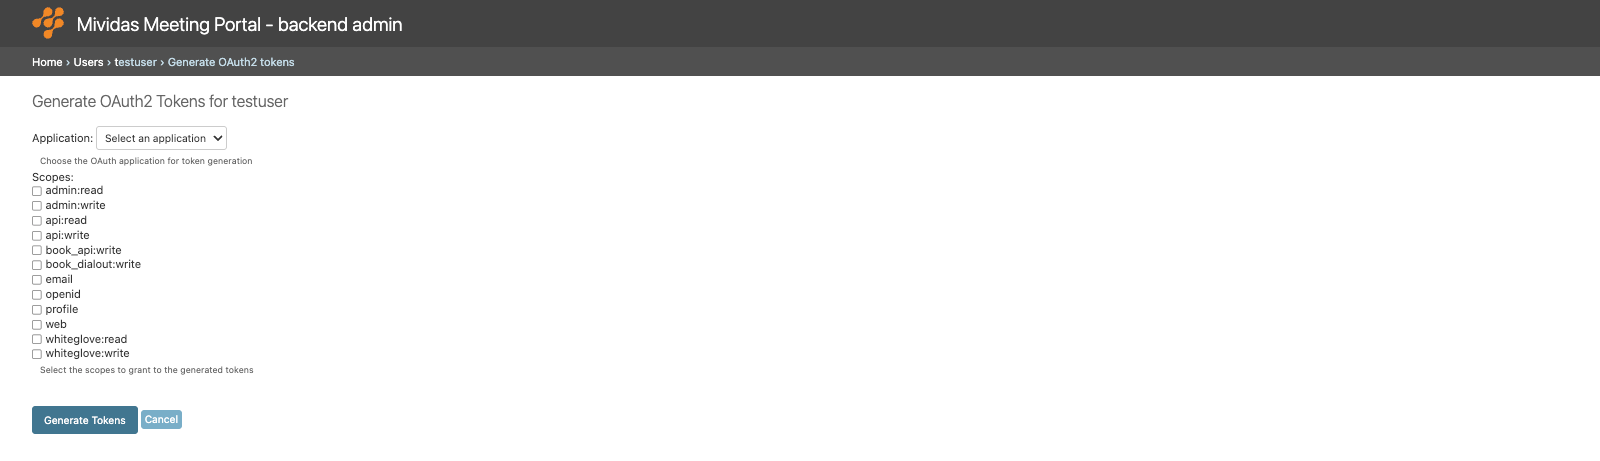
| Field | Description |
|---|---|
| Application | Choose the OAuth application for token generation. Applications are configured under API_KEY › Applications. |
| Scopes | Select the scopes to grant to the generated tokens. Only the scopes this user can get are listed. |
Click Generate Tokens. The access token and the refresh token are shown one time in a message, in the format <access token> / <refresh token>. The access token is valid for one hour. Token generation is recorded in the audit log, and the tokens are listed under DJANGO OAUTH TOOLKIT › Access tokens and Refresh tokens.
Delete a user
To delete a user, open the user and click Delete, or select users in the list and use the Delete selected users action.
Warning: Deleting a user also deletes all OAuth applications owned by the user, and all tokens issued for the user and these applications. The user’s end-user scheduling account and meetings are not deleted. To block a user, uncheck Active instead.